The Move to DigitalOcean and DNSimple
I recently moved this blog onto DigitalOcean. For years it has been hosted on WordPress.com, and as a guy who writes software for a living, that’s kind of like cheating. I work primarily on the Microsoft stack, and I wanted to dabble in areas unknown.
There were a few hosting options I considered. Just about any cloud platform can run WordPress, but I wanted to own and manage a box running on a Linux distribution. Services that hide their internals, like Heroku, while awesome in their own right, were out of the question for what I wanted. I considered Amazon’s cloud and Microsoft Azure, but found that I could get a lower rate for a single slim server at Linode or DigitalOcean. Linode had a $10/month option for a server with 1GB memory, while DigitalOcean had a $5/month option for a server with 512MB, the same amount of memory as in a Raspberry Pi. I liked the price and I liked the idea of having to work with such tight constraints, so here we are.
DigitalOcean runs all their servers on SSDs, so firing up a new instance and taking complete snapshots is a painless process. You’ve got a variety of OSes and versions to choose from. They also have some pre-made images if you need a quick Gitlab or WordPress instance. I didn’t want to cheat, so I started from scratch and fired up a clean Debian Wheezy instance.
I’ve been intrigued by what I’ve heard about nginx, so I wanted to use that as my server, and I wanted to use Postgresql but found that WordPress doesn’t support any datastore besides MySQL. What I was looking for was summed up as a LEMP server (Linux, nginx, MySQL, and PHP). It’s like a LAMP server, but replaces Apache with nginx. I suppose LNMP was unpronouncable.
Now that it was time to get my hands dirty, I did a little googling, when, lo and behold, Google sent me right back to DigitalOcean. It turns out they have a great documentation portal that clearly explains each step of the very stack I was interested in, and on multiple OSes. I started my journey somewhere around here, How To Install Linux, Nginx, MySQL, PHP (LEMP) Stack on Debian 7.
It was almost too easy. Debian has such a rich set of software in its package repository that I could apt-get just about everything I needed without having to alter my sources list. Even WordPress is included in the stable repository.
nginx
Getting nginx up and running was a breeze. I wanted to toss the WordPress blog under the blog subdomain, but I wanted to keep my SEO links from the top-level domain intact. This quick little nginx config section did the trick:
server {
 listen 80;
 server_name freakingawesome.net;
 return 301 $scheme://blog.freakingawesome.net$request_uri;
}
Every http request for the host now gets a 301 redirect to the blog subdomain. I didn’t have to fire up any actual web application to handle the redirect.
The WordPress setup is a bit longer since it’s running PHP, but overall I was impressed by the brevity of of the server configuration. A few lines give you gzipping based on MIME type:
gzip on;
gzip_types text/css text/x-component application/x-javascript application/javascript text/javascript text/x-js text/richtext image/svg+xml text/plain text/xsd text/xsl text/xml image/x-icon;
And a few more lines can tie in your SSL certificate, given a server declaration that listens on port 443:
ssl on;
ssl_certificate /etc/nginx/ssl/blog.crt;
ssl_certificate_key /etc/nginx/ssl/blog.key;
There’s an option to validate the configuration before turning it on, and there’s a way to reload the configuration without restarting the service.
The Rest
There wasn’t much to do on the MySQL and PHP side of things besides tweaking a few default settings to make things a little more secure.
When it came to installing WordPress, it really boiled down to a simple:
$ sudo apt-get install wordpress
Huh. That was less than dramatic. I expected a battle. After some configuration tweaks and updates to my nginx configuration, I was greeted with the standard blank WordPress installation. Then it was off to install a few plug-ins, export my data from the old instance, import it to this new blog, and that was it.
DNSimple
Troy Hunt sold me on DNSimple, so I gave him an internet high five and a free month of service when I jumped on board.
It was again a painless process to move over my domain. Their domain management tools even have some shortcuts for a bunch of other popular services. Turning on the Google Apps service added all the CNAMEs and MX records that I had on my old host. This could all be set up before the final domain transfer, and that was I was able to cross over with minimal downtime.
Performance
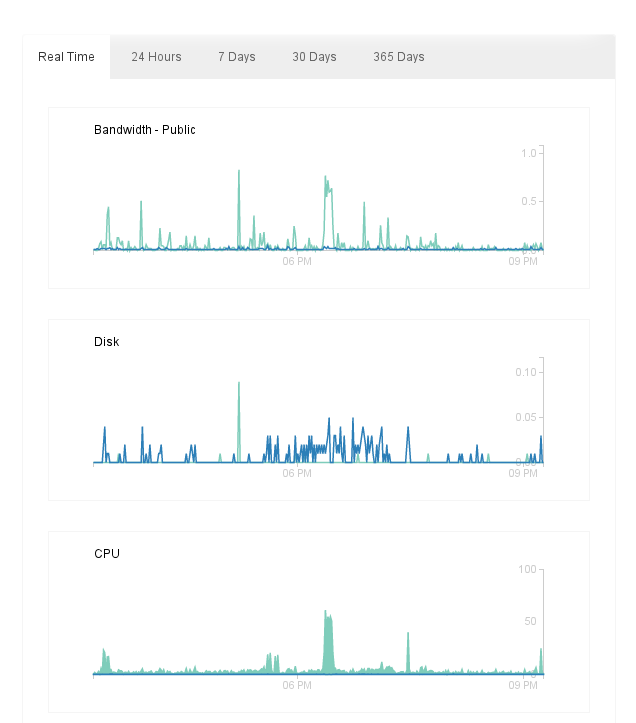
So far, my little 512MB machine is humming along just fine. I’ve got the W3 Total Cache plug-in enabled to lighten the load a little bit. I’ll eventually tie in Varnish just for the hell of it, but as of right now, my little server is performing quite well for the modest 1k visits this blog gets all day (thanks to all you PRK Recovery googlers out there).
DigitalOcean provides some concise real-time graphs for monitoring bandwidth, disk, and CPU usage, as well as configurable warnings for heavy traffic.
I think I’ll be plenty happy with DigitalOcean as my provider moving forward. I’ve only scratched the surface of what they offer, but I’m off to a good start. Kudos to the team for their easy-to-use tools and especially for the treasure trove of documentation they maintain.